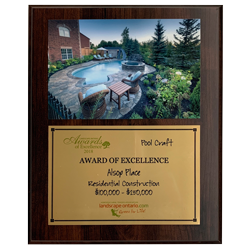
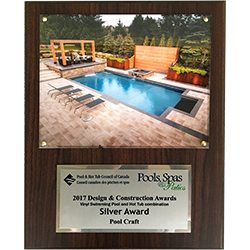
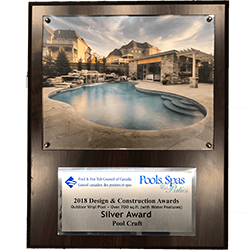
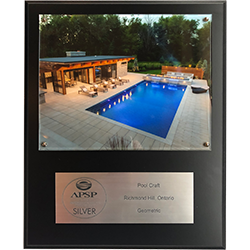
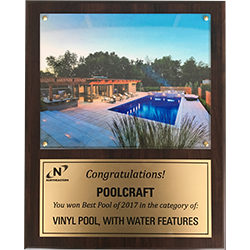
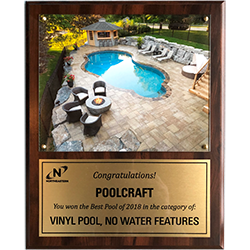
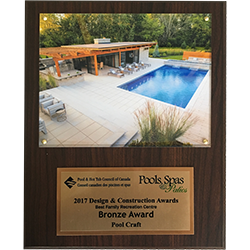
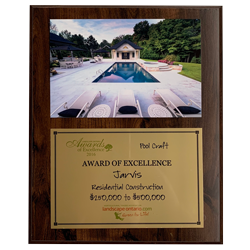
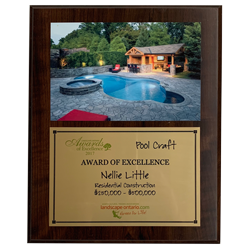
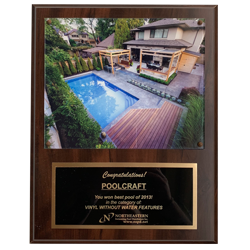
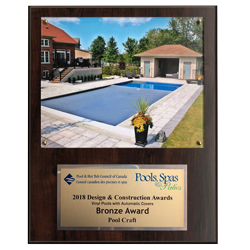
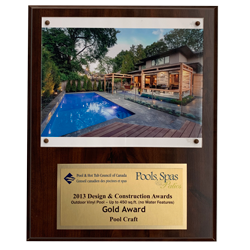
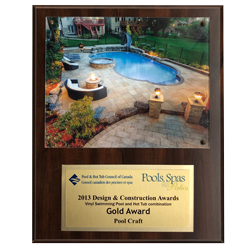
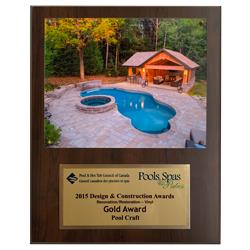
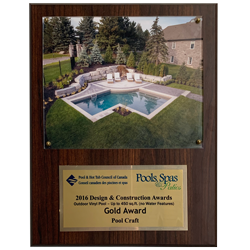
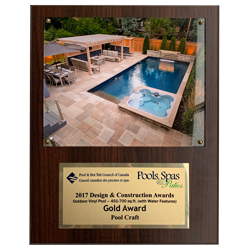
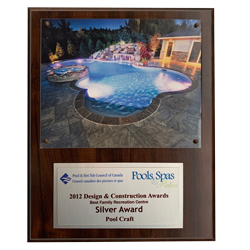
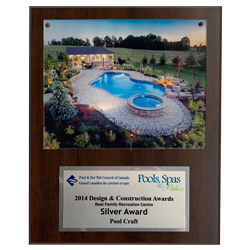
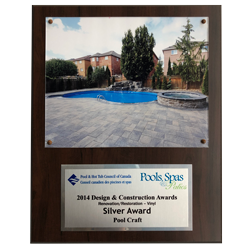
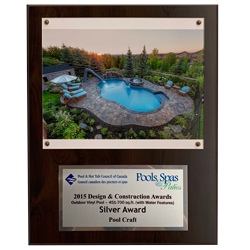
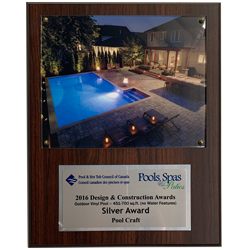
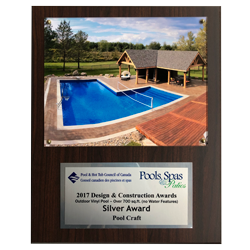
Looking for a backyard swimming pool that is a little more exciting and personalized than the standard template can offer?
Well, you’re definitely not alone! A custom swimming pool is an excellent choice for anyone who is looking to get the most out of their backyard investment.
It doesn’t matter if your property seems a bit small for a swimming pool – or if the slope and shape of the landscape is a bit tricky. In fact, these are the areas where getting a custom swimming pool design is ideal.
Your swimming pool builder can work with you to get the dreams you have for your pool project down on paper. By using intelligent technology and a bit of a creative flair, a pool designer will be able to craft a design that makes excellent use of the available space and works within your budget.
Once the design is locked down and both you and the pool builder are satisfied, it’s time to go to action!
Here is a detailed, visual look at the all the steps involved in installing your very own custom swimming pool:
1. Creating the Access way
The joy of having a new, custom swimming pool will be a bit harder to enjoy if the construction team destroys the entire backyard during the process. That’s why the first step is to carefully create an access way so the machinery, equipment and supplies that will be used can be safely transported without causing damage.
2. Staking out the Swimming Pool
Working according to the agreed upon custom design for the swimming pool, the construction team will carefully mark out the boundaries of the pool with paint. This gives a good visualization for the work and allows everything to proceed exactly according to plans. If anyone has any questions or concerns about the size or shape of the pool, now is the time to bring them to light! Even at this point, the construction team will be able to work with the homeowner to make sure that the custom pool looks as expected.
3. Excavation!

With everything in place, now we can go to work. Using machinery, we carefully dig the hole for the inground pool, taking 2’ extra so that there is room for the supports and panels that will be used around the pool. This excavation process is done with the utmost respect to the surrounding yard to prevent extra, unnecessary damage is avoided and to limit the amount of work that will be required for landscaping upon the completion of the project.
4. Setting the Panels in Place

The walls of an inground swimming pool are made up of many different steel panels. These are set in place, according to the design, and then bolted together. Customization is easy, as these curved panels can be arranged into any shape you desire.
5. Adding Box Supports

Here, the project is starting to take form; we can recognize the full shape of the swimming pool. We install box supports around the entire pool, spaced 4’ apart. The steel panel walls and these box supports are fastened in place with cement, which makes the swimming pool incredibly strong and durable. These box supports give the strength needs to support concrete decks or any other kind of patio option you could imagine.
6. Installing the Bottom of the Pool

At this point, the construction team will install a rough concrete shell at the bottom of the swimming pool. This provides a more firm base for the finished surface and removes any gaps under the steel panels.
7. Installing Plumbing

There’s a lot of plumbing work involved to guarantee that a swimming pool will work smoothly! In this phase of the construction, we install 2’ flexible PVC plumbing lines as needed around the pool. For maximum durability, we will prime and glue the pipe and fittings together. After a final check to make sure everything is properly connected, the construction team will carefully backfill gravel over these plumbing lines, helping to hold everything in place while allowing for excellent drainage.
8. Backfilling the Pool, Adding a Sub Collar

Now the construction team will backfill around the pool. By using ¾” clear stone, we ensure optimal drainage. In preparation for the coping stone, the pool construction team will then install a 1’ sub collar around the entire perimeter of the pool. This sub collar will act as a base for the coping.
9. Giving the Pool Bottom a Smooth Finish

Now the construction team will go to work to make the bottom of the pool as smooth as possible. We use hand trowels to lay a coat of grout, getting rid of all bumps and imperfections as we go, so that the liner can sit comfortably on an excellent and level surface.
10. Installing the Coping

The next step is to install coping all around the perimeter of the pool. The coping will include a track for the vinyl liner. It may also incorporate other features, such as a lock-in winter cover.
11. Installing the Liner

There are a lot of different styles and options for swimming pool liners. Prior to installation, the homeowner will have worked together with the contractor to agree on the best option for the custom pool design. This liner will be custom ordered so that it fits the exact specifications of the pool. The construction team will carefully install the liner for a smooth and durable fit.
12. Landscaping

The process of excavating and building a custom swimming pool inevitably results in the new for some new landscaping work as the project comes to a close. Whether the homeowner wants to use this opportunity to put in some new features that make the pool fit more comfortably into the environment, or if the job is simply cleanup, we make sure that the backyard and the entire property looks neat and tidy!
13. Pool Equipment

A swimming pool can only stay clean and fresh with the assistance of some intelligent pool equipment and cleaning systems. The construction team will build a concrete pad to put all this equipment on. Rigid PVC pipe construction helps guarantee maximum flow efficiency so that you won’t need to call the contractor back for fixes or unprepared maintenance.
14. Filling the Pool with Water

It’s finally time! With the pool liner, coping, equipment and landscaping all in place, it’s time to fill up your new custom swimming pool. You can have this job done quickly and easily by ordering a water truck, or you can opt for the more patient approach of using your own garden hose.
15. Enjoy your Custom Swimming Pool!

That’s it! Your pool is ready for hours of splashing and swimming! As a final step, your pool builder will give you a detailed tour of how to run and maintain your pool. As Pool Craft, we call this “Pool School”. This explains all the ins and outs of being a pool owner and gives you the info you need, including how to prepare your pool for the changing of the seasons.
We hope you found some value in this detailed explanation of what is involved in a custom swimming pool installation. With the help of an expert pool contractor, you can rest assured that the process will go smoothly and with excellent results! For more information on what Pool Craft can offer to you, with either pool installation, renovation or maintenance services, contact us today!


